The flow builder
A flow is a conversation drawn as a diagram. You lay out what the bot says, what it asks, and where each answer leads — no code. When someone messages your WhatsApp number and their words match a flow's trigger, the bot follows the path you drew. This guide walks the list, the canvas, and every kind of box you can put on it.
A flow only ever runs when the bot engine is set to Flow Builder in your chatbot settings. Draw whatever you like here; the engine there decides whether it is the thing answering your customers.
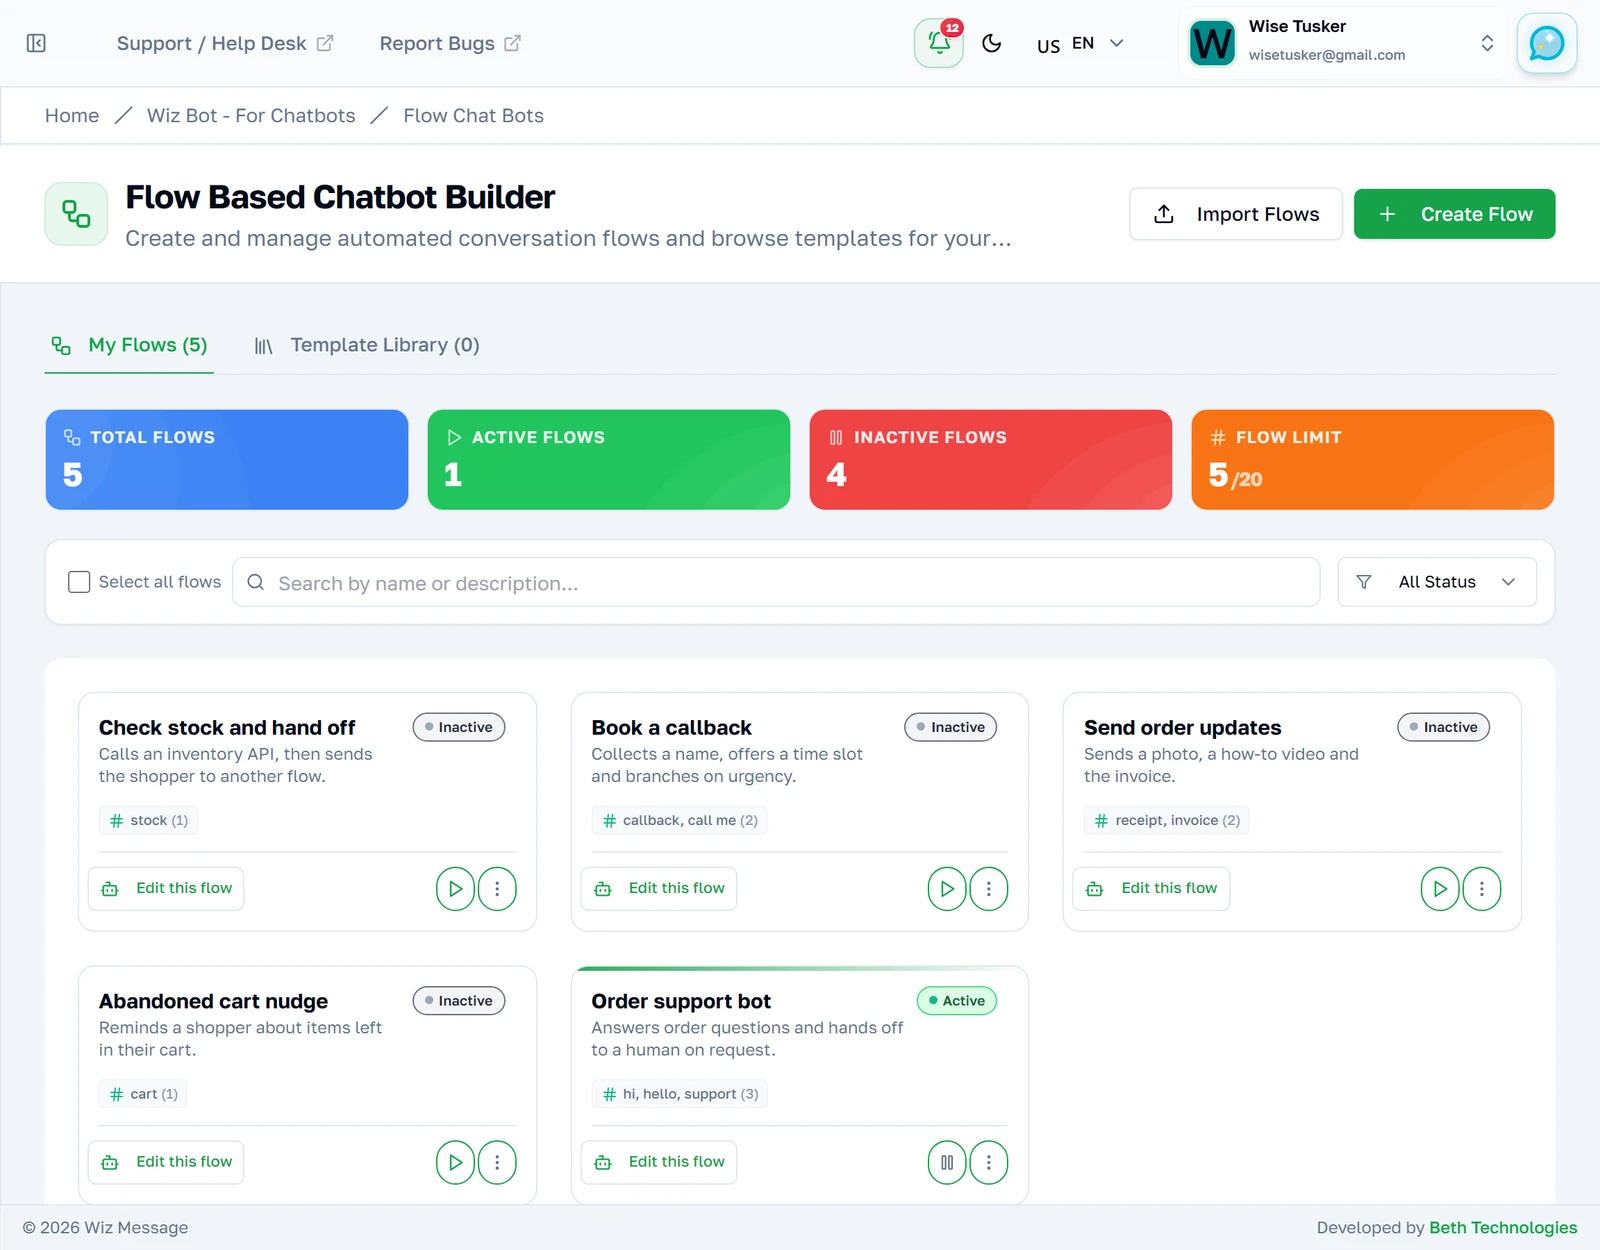
Your flows
Where your bots live
Every flow you have built appears here. The badge tells you whether it is live: an active flow is answering customers right now, a paused one is saved but ignored. Nothing you draw affects real conversations until you switch it on.
What a flow card tells you
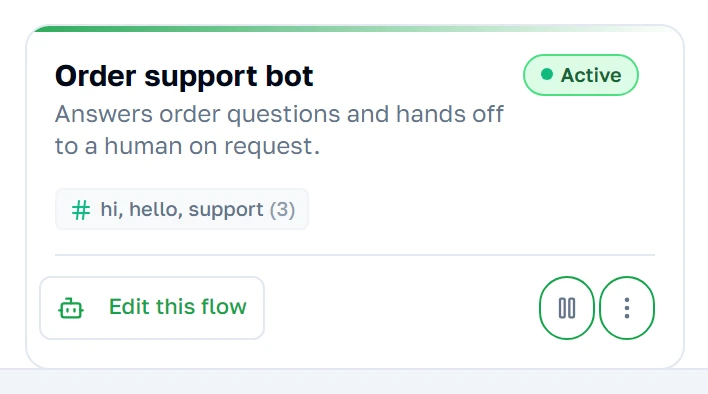
Each card carries the flow's name, its description, whether it is Active, and the words that set it off. "Edit this flow" opens the canvas — the diagram itself. The three-dot menu holds Settings, Duplicate and Delete. The toggle beside it starts and stops the bot.
Active and paused, side by side
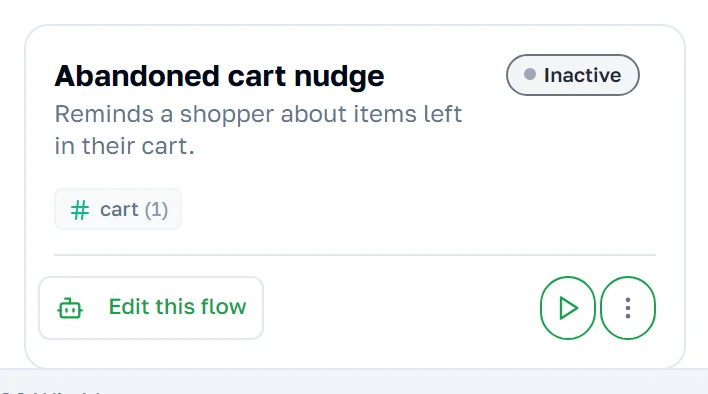
The order support bot is active — it replies to anyone whose message matches its trigger words. The abandoned cart nudge is paused: still saved, still editable, simply not running. Pausing is how you take a bot out of service without losing the work.
How many, and how many are running
The four tiles count your flows, how many are live, how many are paused, and how close you are to your limit. The limit is per account; if you are near it, delete or export the flows you no longer need.

Making a new flow
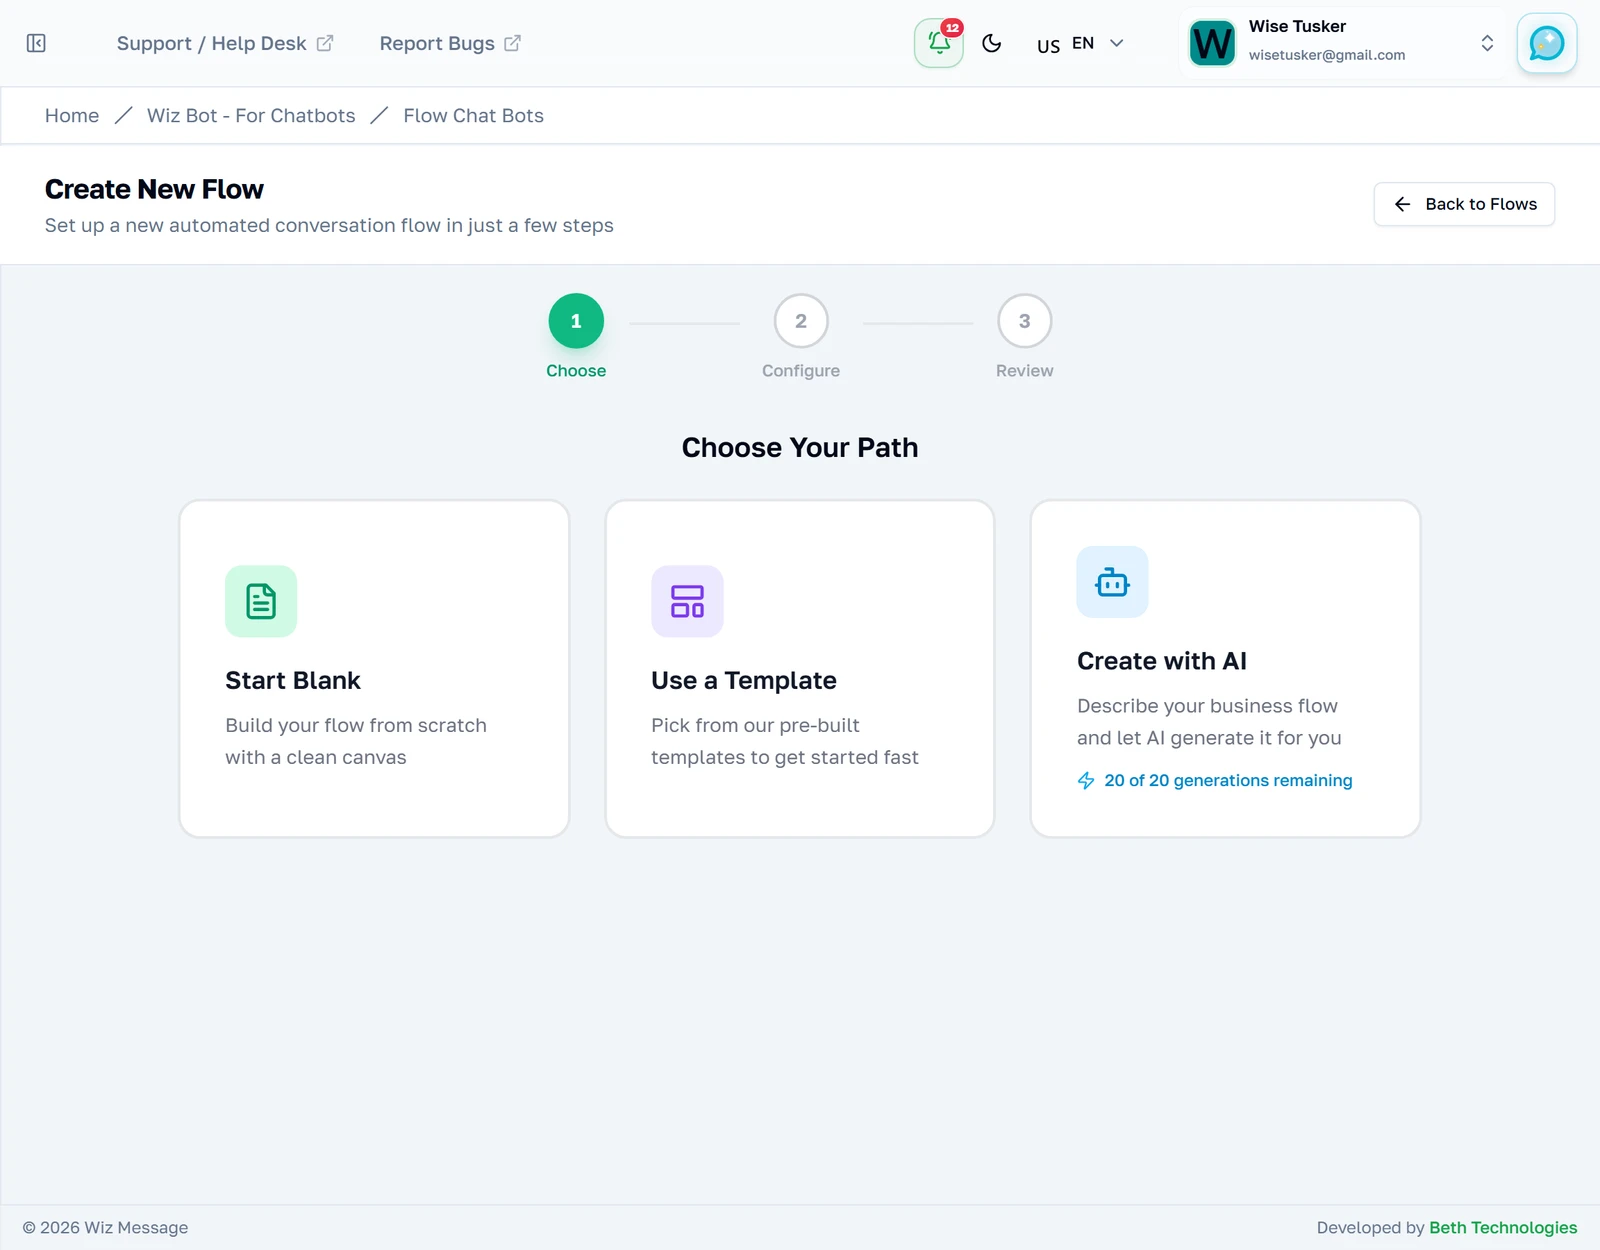
Three ways to start
Create Flow opens a three-step wizard. Start from nothing, start from a template, or describe what you want and let the assistant draft it. The choice only decides what is on the canvas when you arrive — you can change anything afterwards.
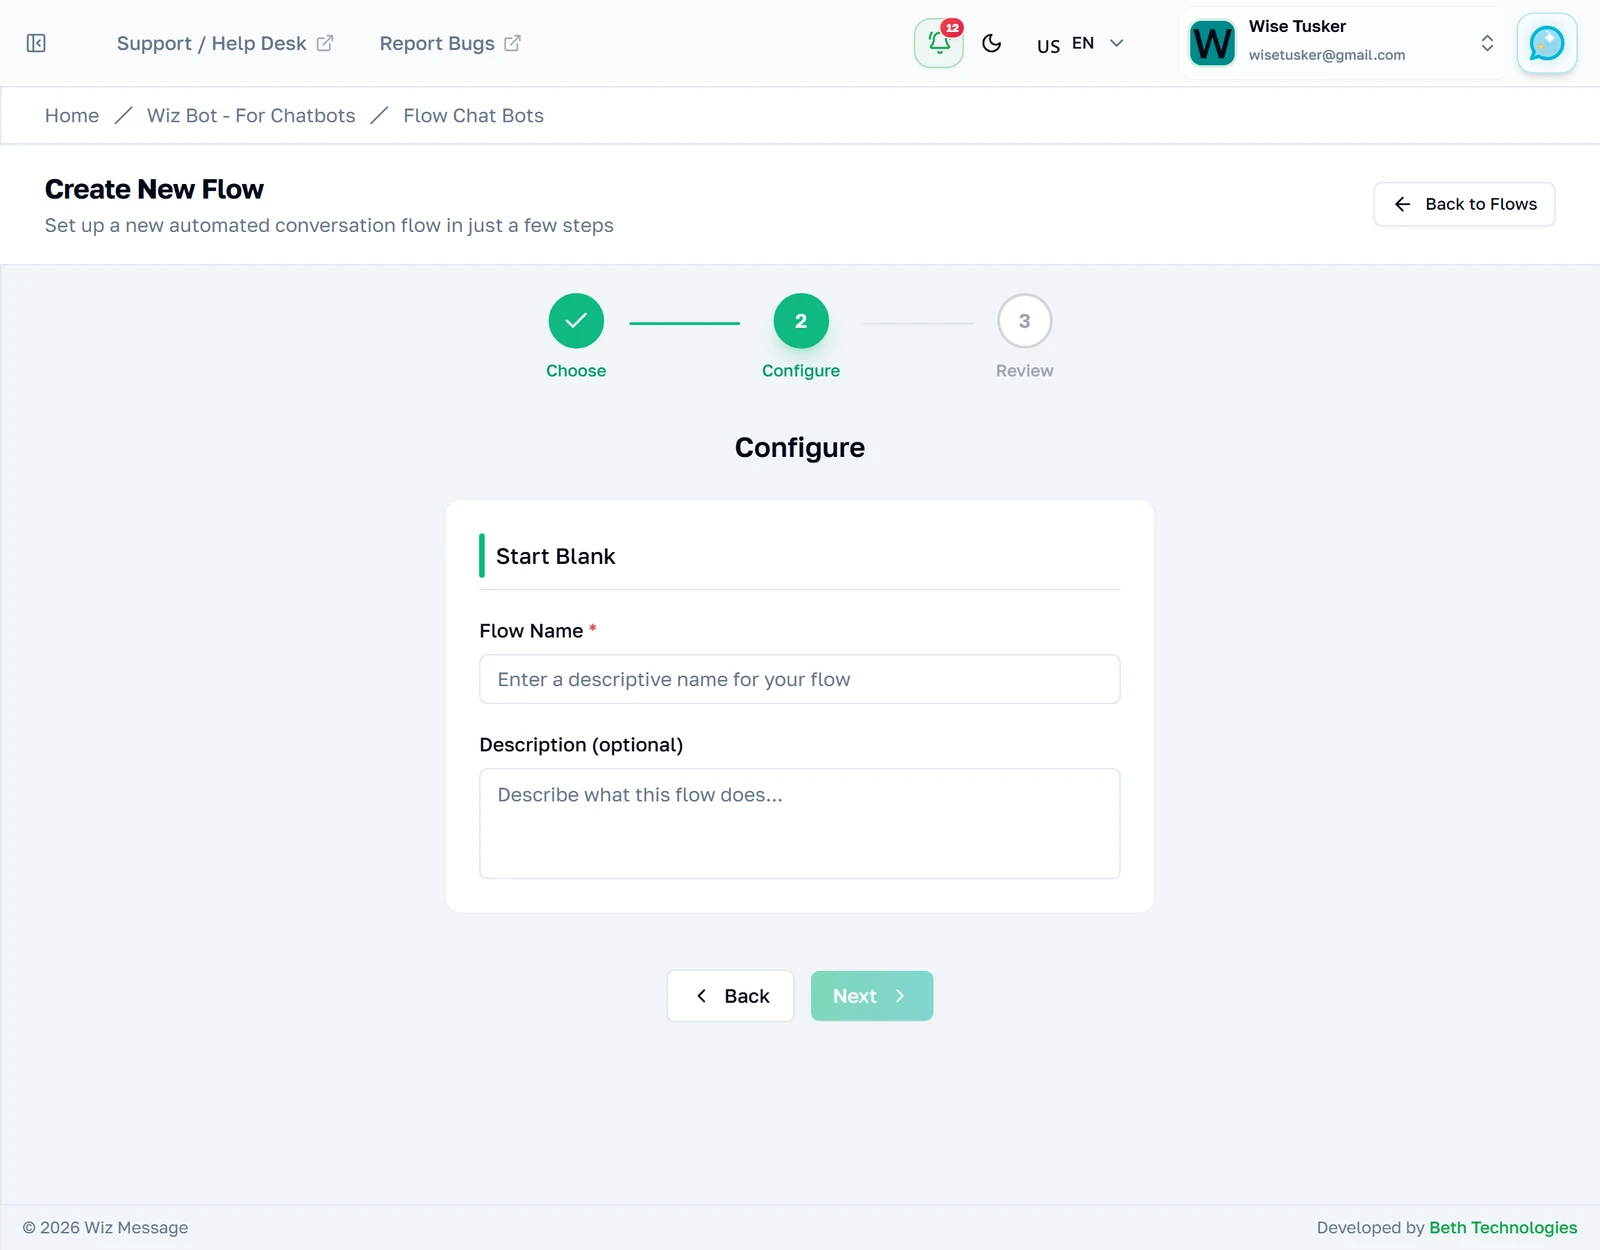
Naming it
Starting blank asks only for a name and an optional description. Name it after the job it does — an order support bot beats Flow 3 when you have a dozen of them. New flows are always created paused, so nothing goes live by accident.
The canvas
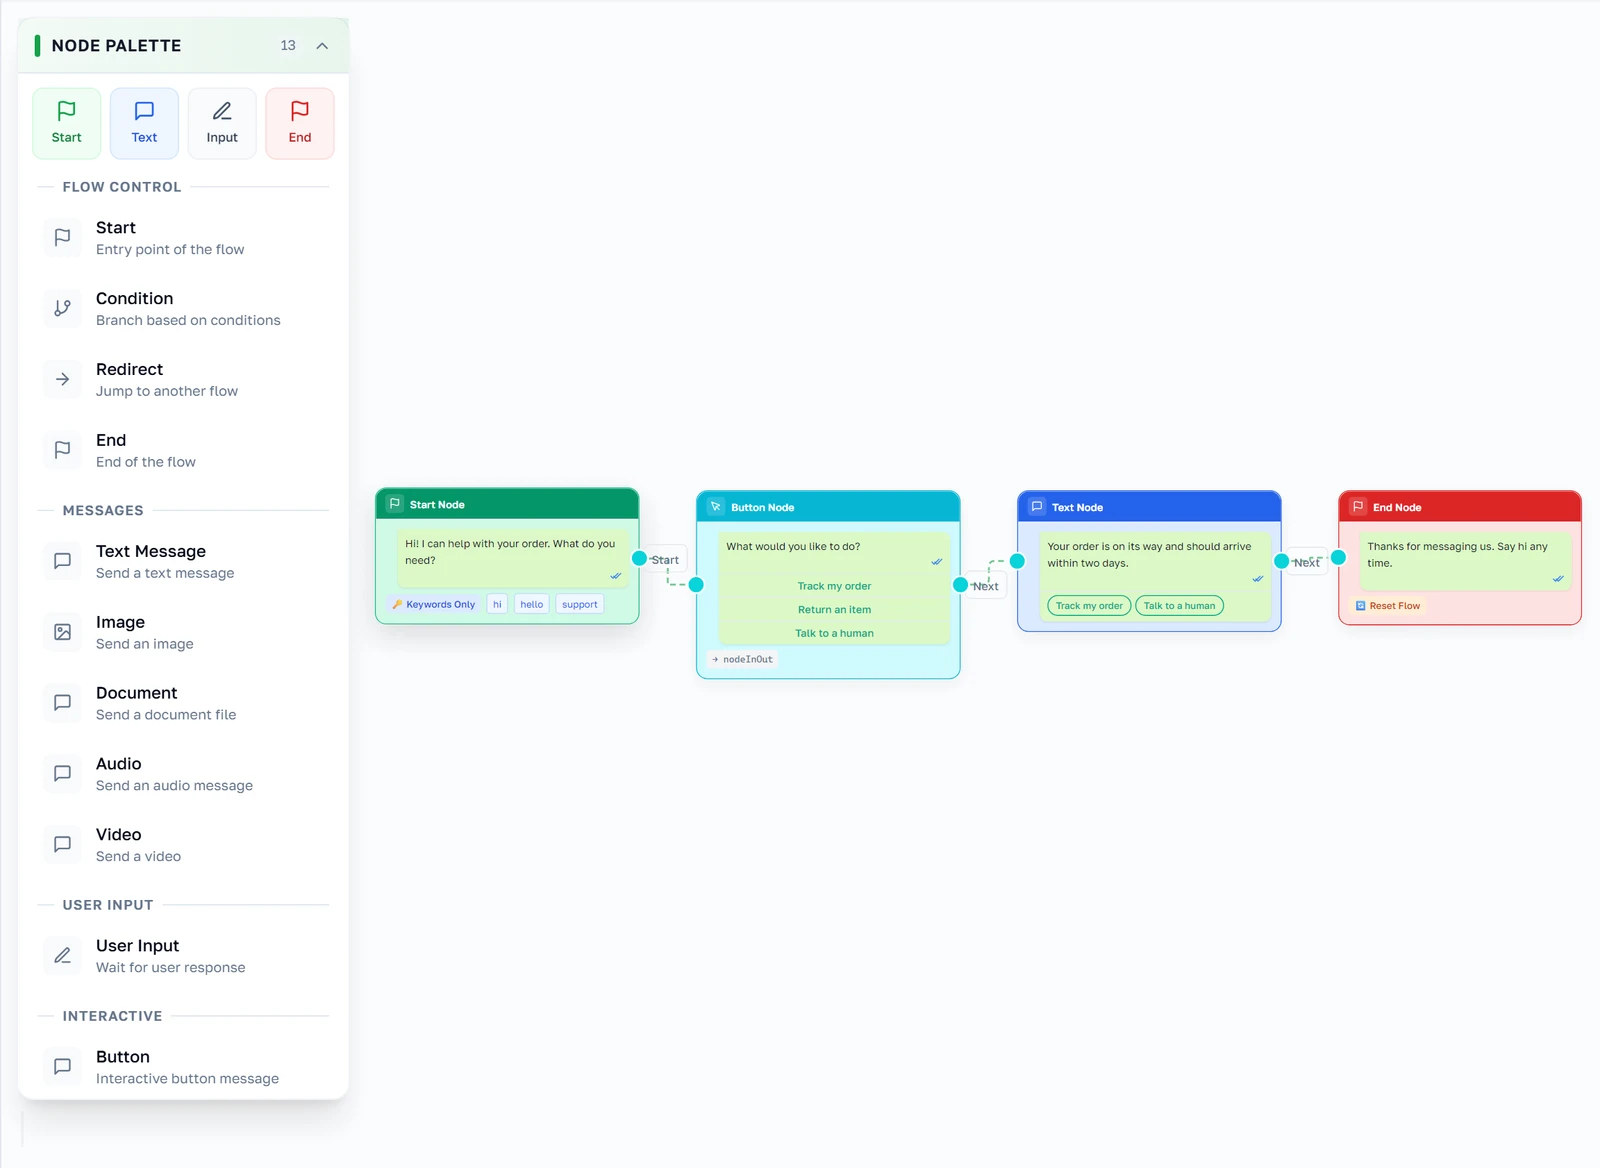
A flow, drawn
Opening a flow shows the conversation as boxes joined by arrows. Read it left to right: the bot greets, asks a question, answers, and ends. Each box is one thing the bot does; each arrow is where the conversation goes next. This whole flow is four boxes — most useful bots are not much bigger.
The boxes you can add
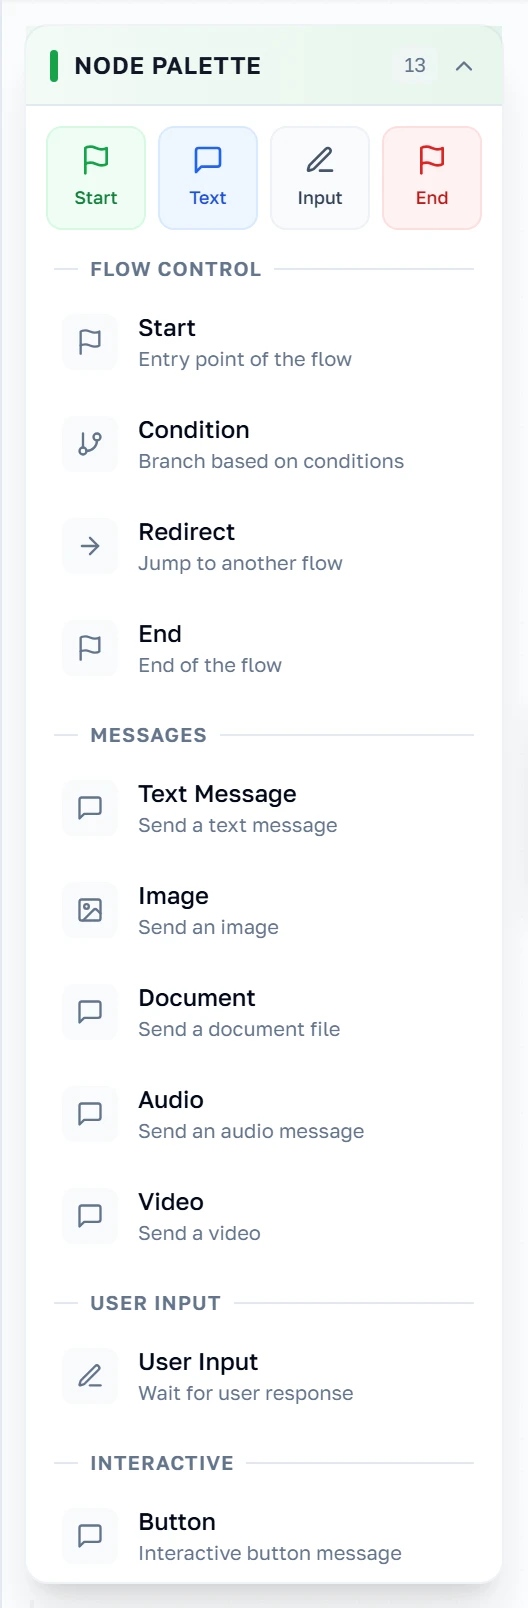
The palette lists every kind of box, grouped by what it does: Flow Control decides where the conversation goes, Messages send something, User Input collects an answer, Interactive offers buttons or a list, and Integration talks to another system. Click one to drop it on the canvas.
Note: The palette offers thirteen items, but Audio is not finished — it cannot be configured, so this guide does not cover it. Everything else in the palette is documented below.
Selecting a box
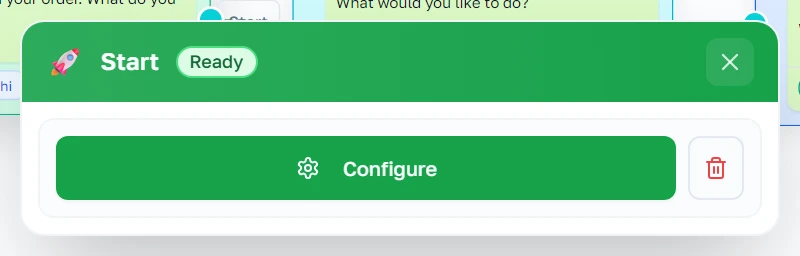
Clicking a box selects it and opens its property panel. The panel starts read-only: press Configure to edit, Save to keep the change, and the bin to delete the box. The panel floats — drag it by its header if it covers something you need to see.
Where a conversation starts and ends
Start
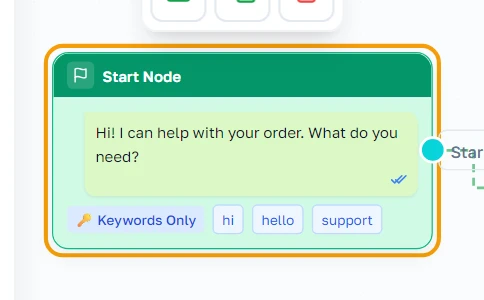
The Start box is the door in. It holds the greeting and the trigger words: if a customer's message contains one of them, this flow runs. Every flow has exactly one Start.
Start — properties
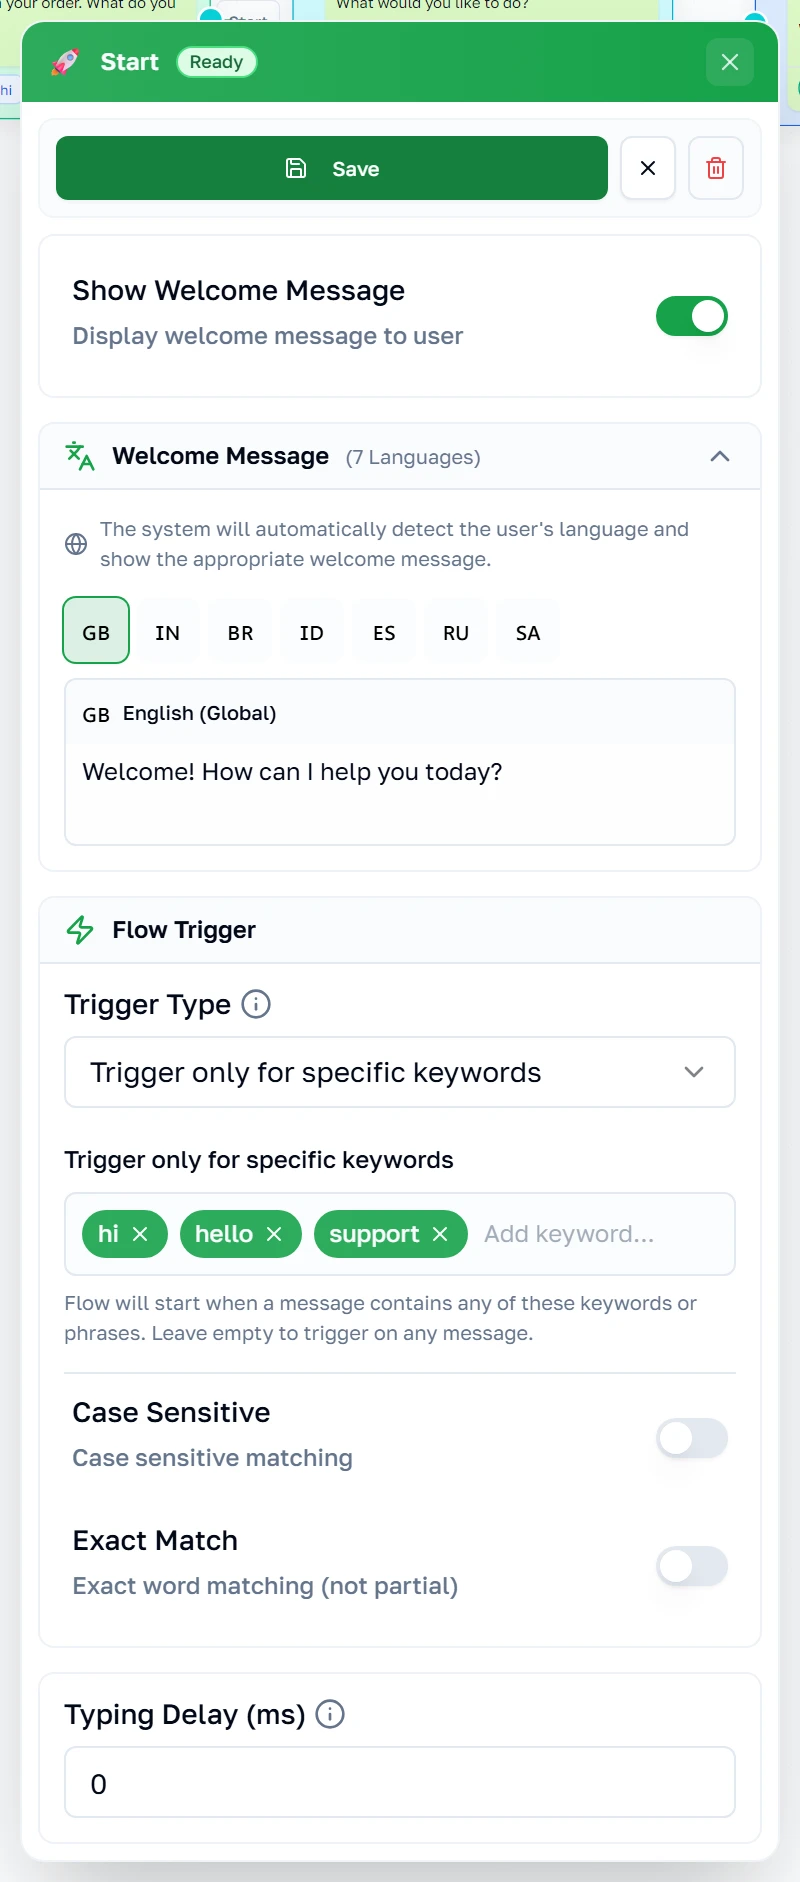
The welcome message is what the bot says first, and can differ per language. Trigger Type decides who gets it: All Messages answers everyone, Keywords answers only messages containing your words. Case Sensitive and Exact Match tighten that further. Typing Delay makes the bot pause before replying, so it feels less abrupt.
Text
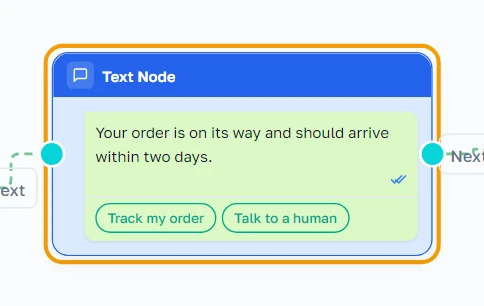
A Text box simply says something. It is the most common box in any flow — the bot's half of the conversation.
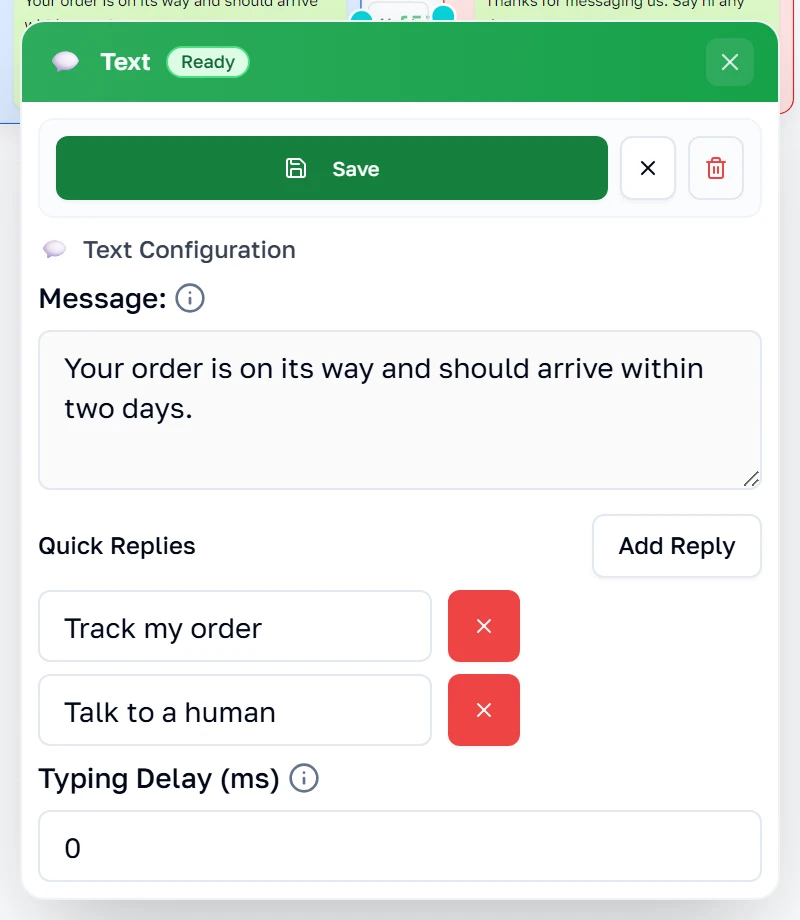
Text — properties
Type the message and you are done. Quick Replies add tappable suggestions underneath it, which save the customer typing. Typing Delay works as it does on every message box.
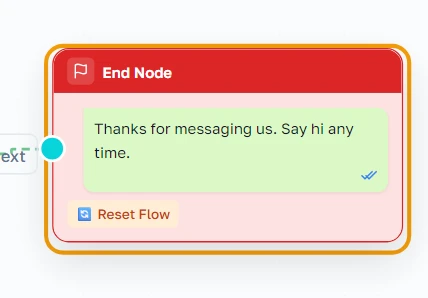
End
The End box closes the conversation. It is worth adding one even when the flow seems finished without it — it is what tells the bot to stop and reset.
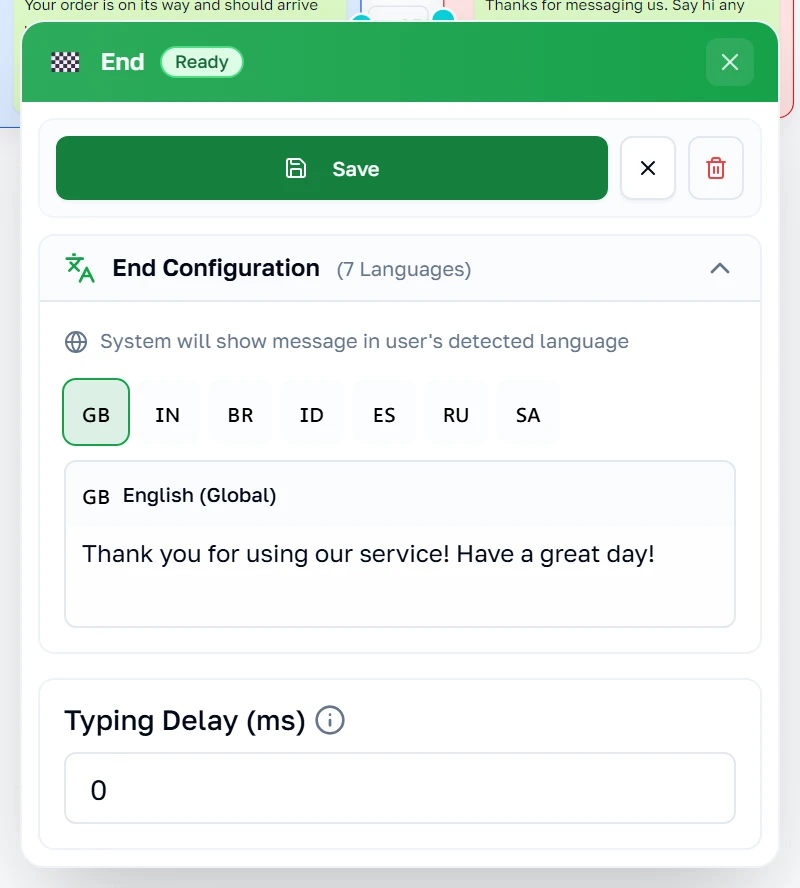
End — properties
A closing message, per language if you need it, and whether to reset the conversation so the next message starts the flow again from the top. Leave Reset on unless you have a reason not to.
Asking with buttons
Buttons
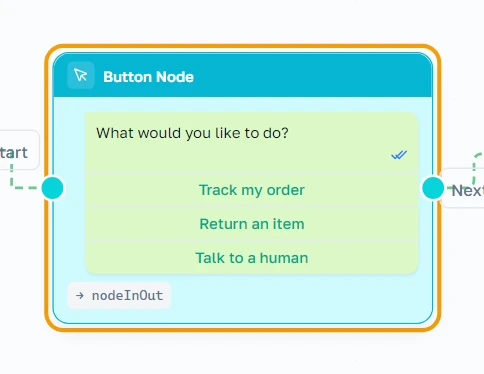
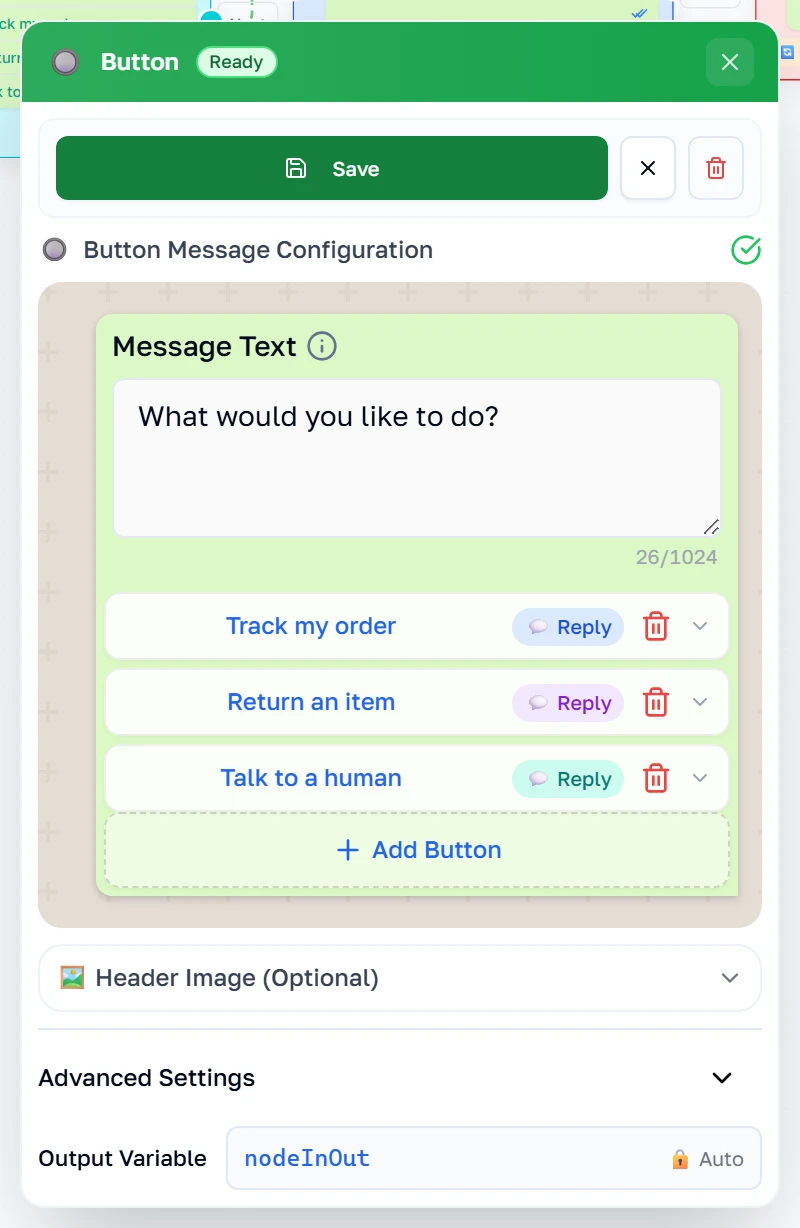
A Buttons box asks something and gives tappable replies instead of making the customer type. Each button can lead somewhere different, which is how a conversation branches.
Buttons — properties
The message sits above the buttons, and the preview shows roughly what WhatsApp will render. Each button has a short label — keep it short, WhatsApp truncates. A button can be a plain reply, a link, a phone number, or a copy-code. WhatsApp allows at most three, and the panel refuses to save if you break its rules rather than letting the send fail later.
Sending photos, video and files
Image
An Image box sends a picture, with an optional caption underneath. The screenshot comes from a different flow — one that sends someone their order details — because a box is easier to understand beside the boxes it actually works with.
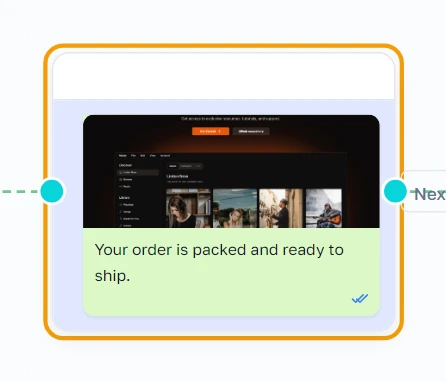
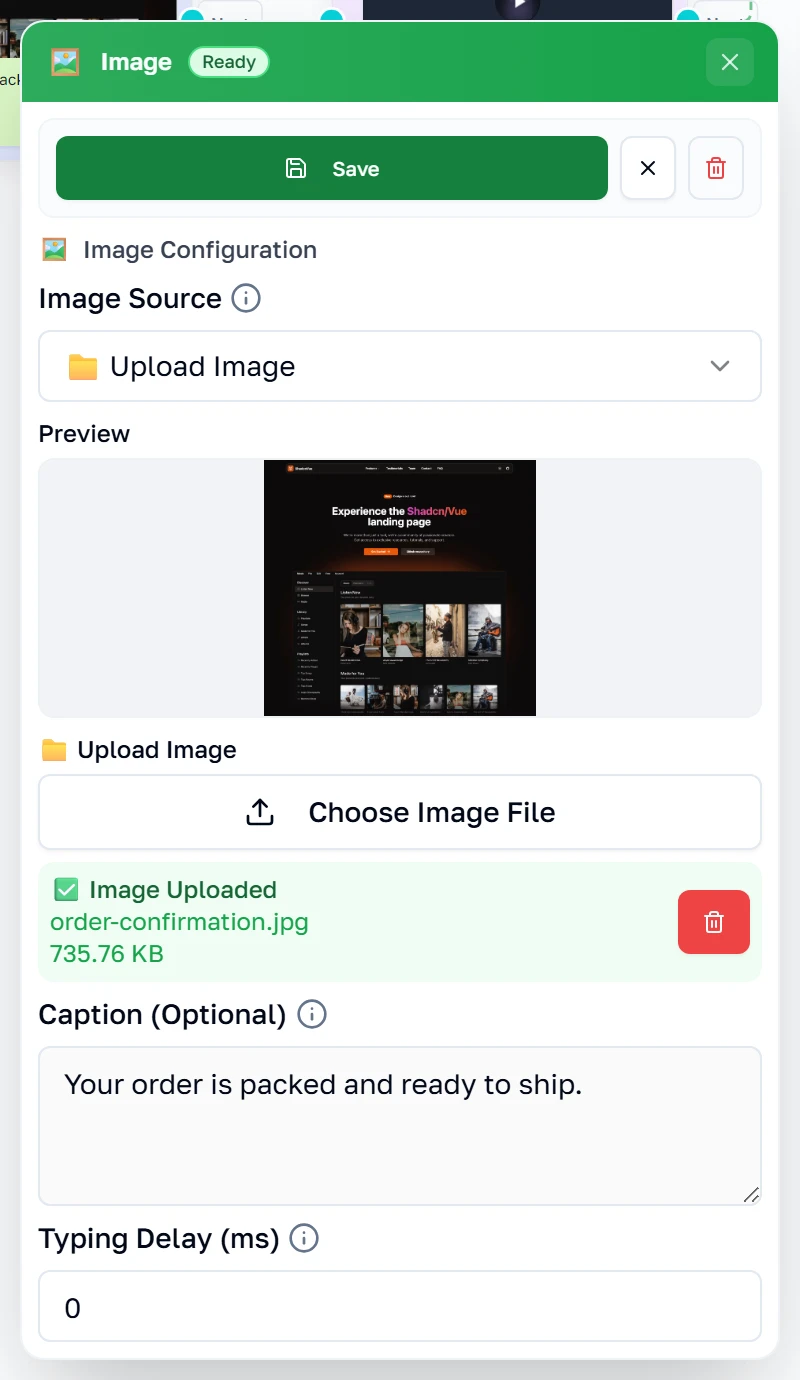
Image — properties
Either paste a link to a picture or upload one. Uploading stores the file and shows you a preview, so you can see exactly what the customer will get. The caption is optional.
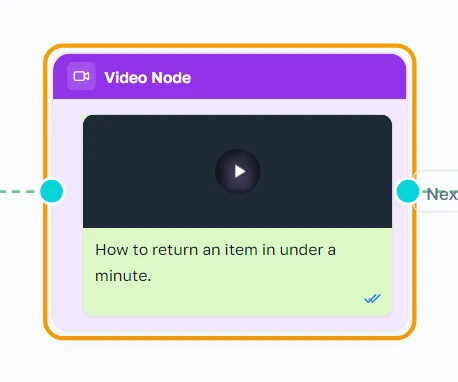
Video
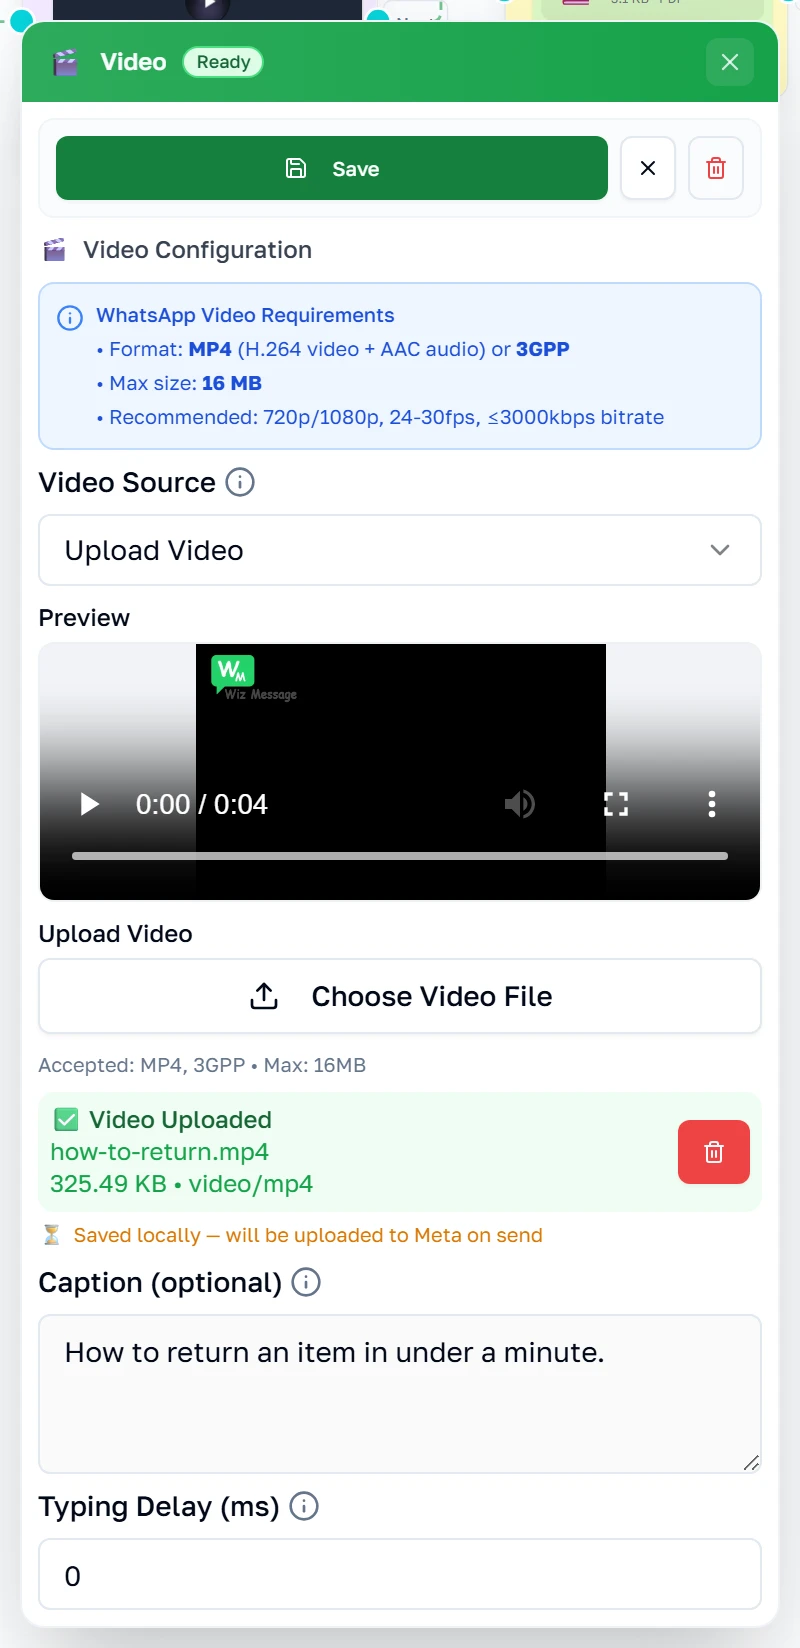
A Video box sends a clip. Useful for a how-to that would take three messages to explain.
Video — properties
WhatsApp is strict about video: MP4 or 3GPP, and no larger than 16 MB. The panel says so up front and enforces it on upload. Once uploaded it tells you whether the file has been sent ahead to WhatsApp or is still only stored here.
Document
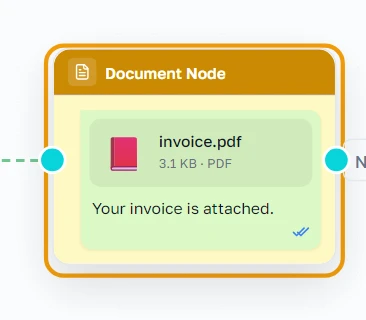
A Document box sends a file — an invoice, a receipt, a price list.
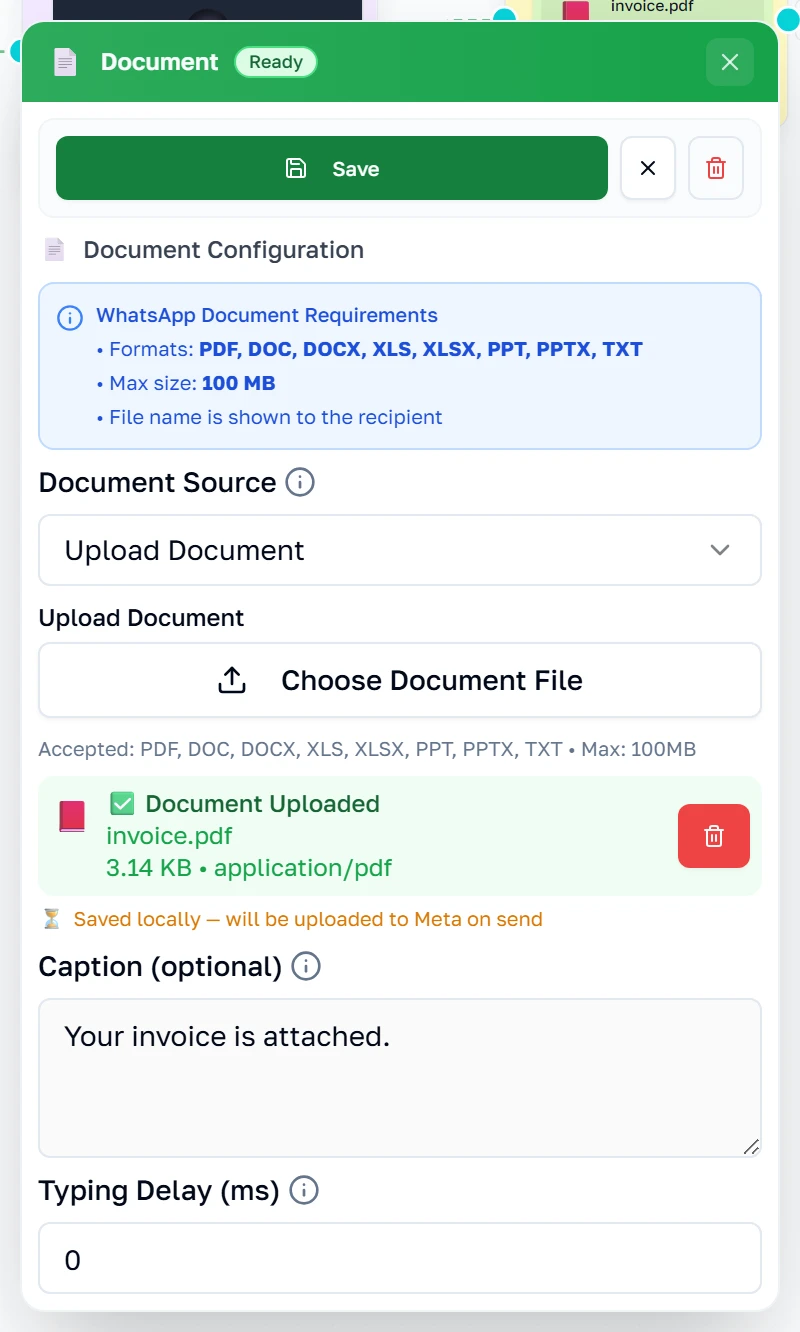
Document — properties
Link or upload, the same as an image. The file name matters here: it is what the customer sees in their chat, so invoice.pdf is kinder than a random string.
Collecting an answer and branching
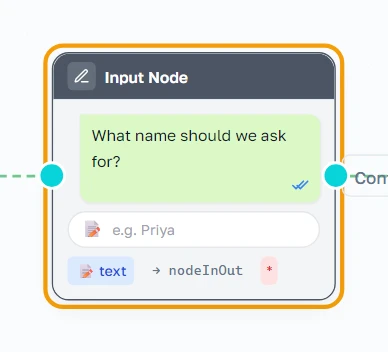
User Input
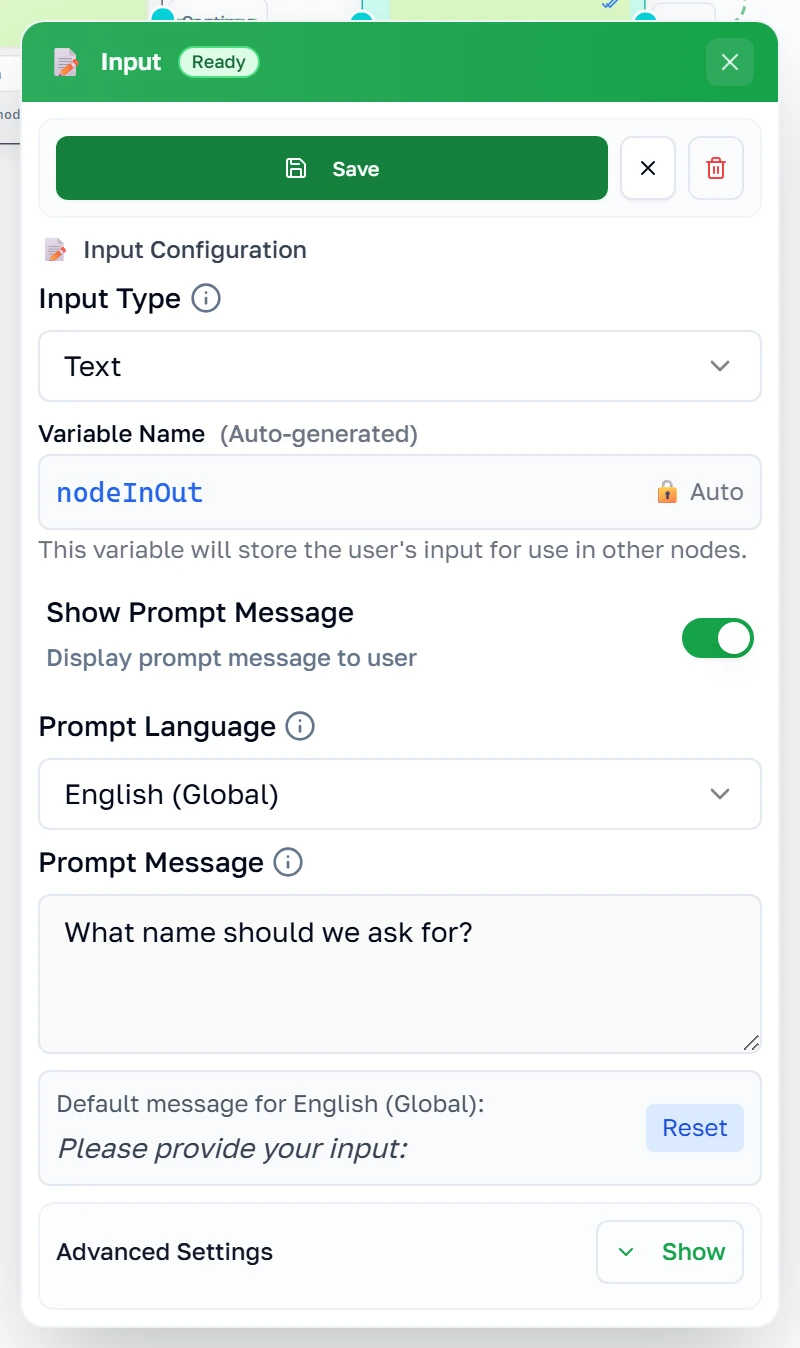
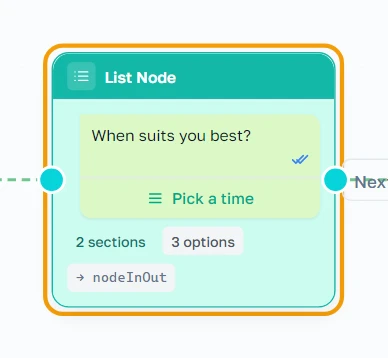
An Input box asks a question and waits for the customer to type. Whatever they say is kept and can be used later in the flow. This flow books a callback: it asks a name, offers time slots, then branches.
Input — properties
Choose what you are asking for — text, a number, an email, a phone number, or a choice from a list — and the box checks the answer for you. The prompt is the question itself, and can differ per language.
Input — the advanced half
Advanced Settings holds everything about what happens when the answer is wrong or never comes: how long to allow, what to say when it fails, how many attempts before giving up, and the exact rules the answer must satisfy. Most flows never need these, which is why they start folded away.

List
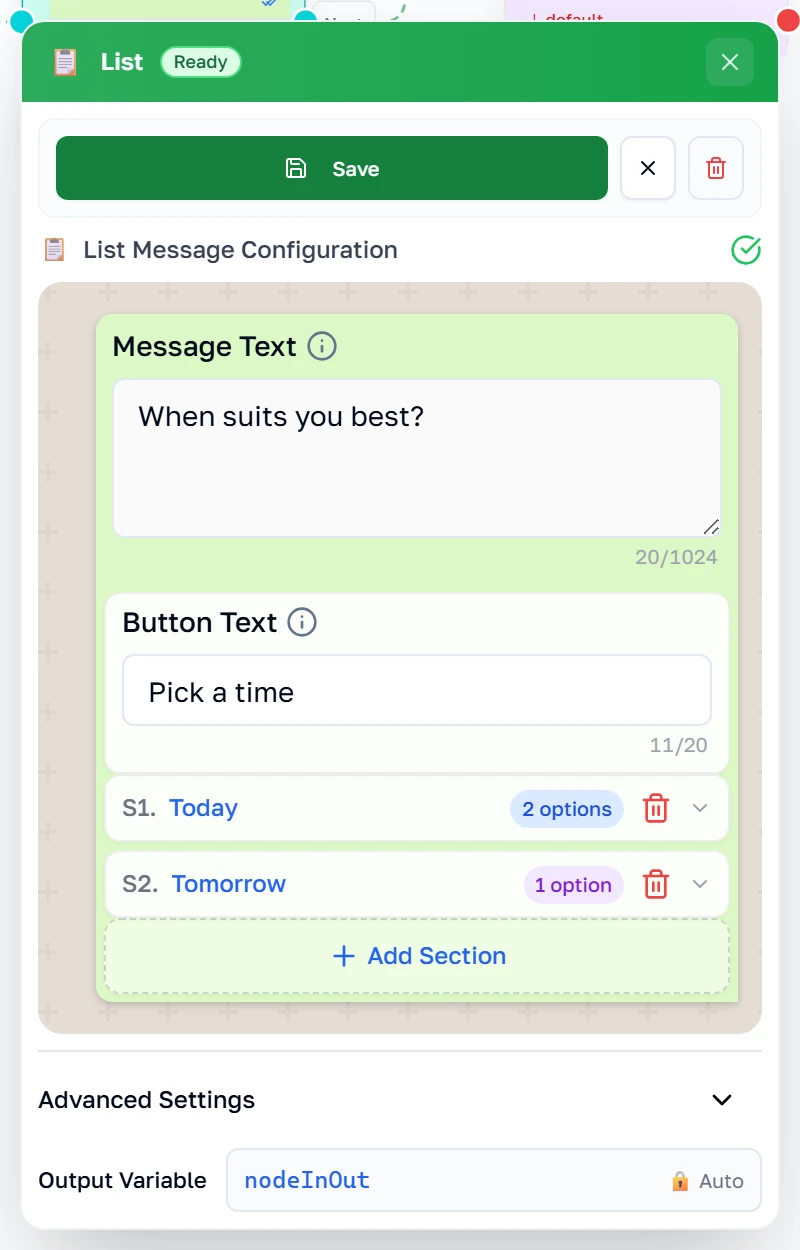
A List box offers more choices than buttons can — up to ten, grouped into sections, behind a single tap.
List — properties
The message and the button text are what the customer sees first; the options live behind that button. Group them into sections when there are many. Titles are limited to 24 characters and descriptions to 72 — the panel counts for you and refuses to save a list WhatsApp would reject.
Condition
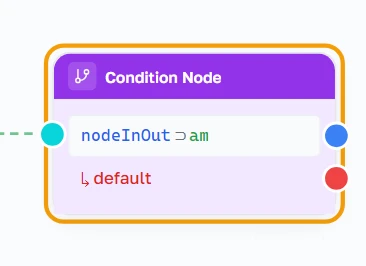
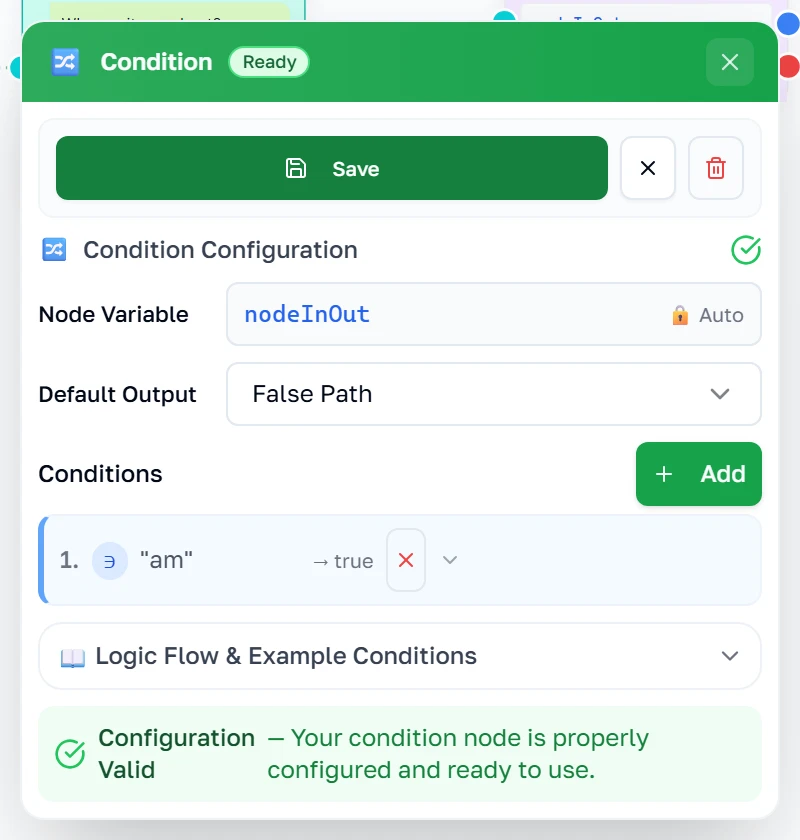
A Condition box is a fork in the road. It looks at the last answer and sends the conversation one of two ways. Note it has two outputs, not one.
Condition — properties
Each rule compares the last answer against a value — contains, equals, is empty, greater than, and so on — and names which output to take when it matches. The default output catches everything that does not. Build the rule first, then drag its output to the box that should come next.
Talking to other systems
Webhook
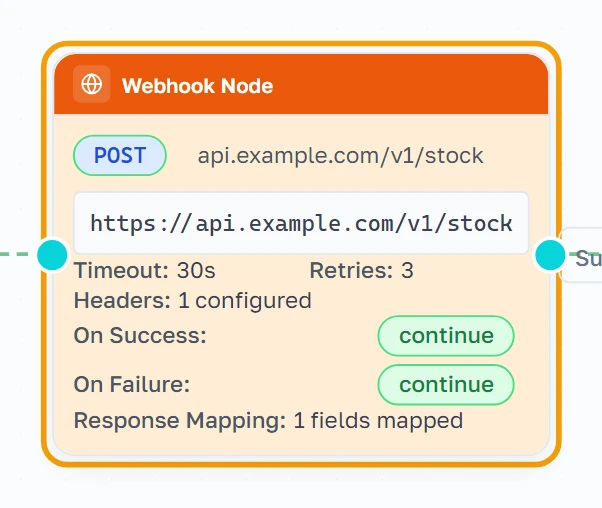
A Webhook box calls another system mid-conversation — to check stock, look up an order, or tell your own software what just happened.
Webhook — properties
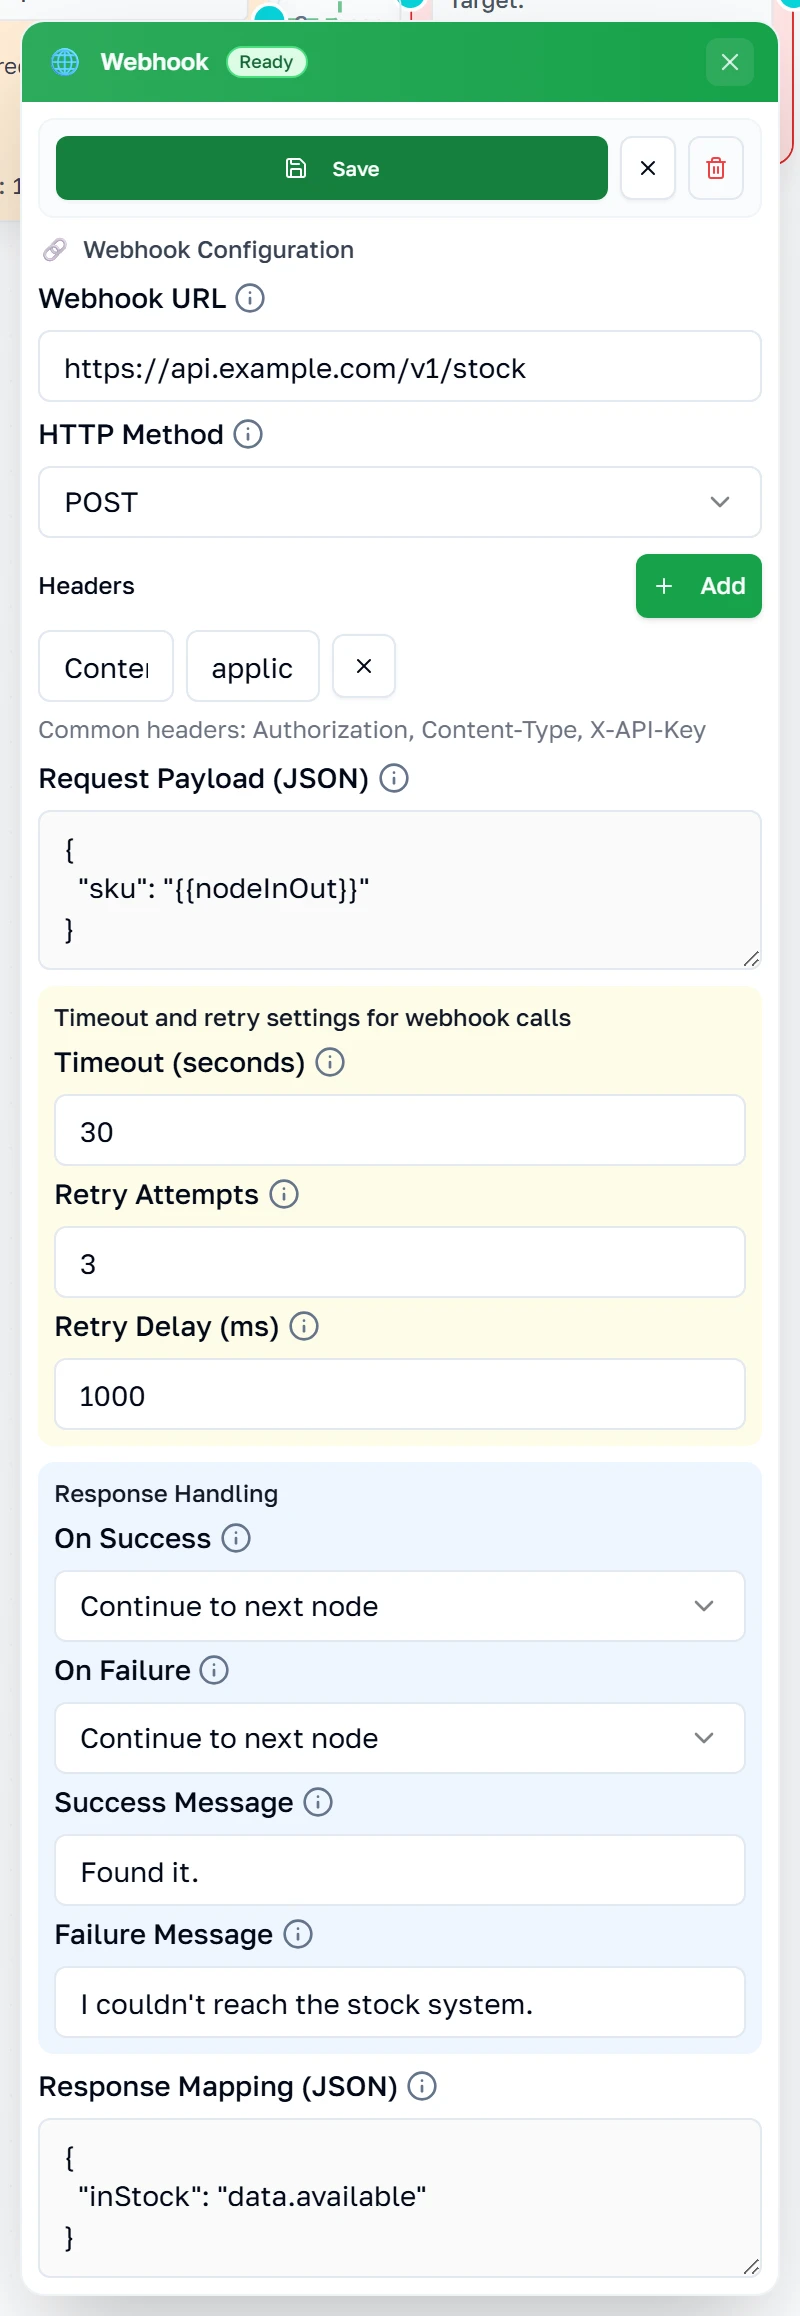
The URL and method are the call itself; headers and payload are what you send. The timeout and retry settings decide how long to wait and how often to try again, and Response Handling decides what the conversation does with the answer.
Redirect
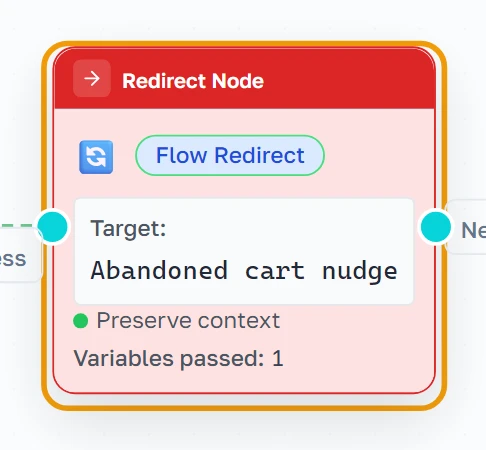
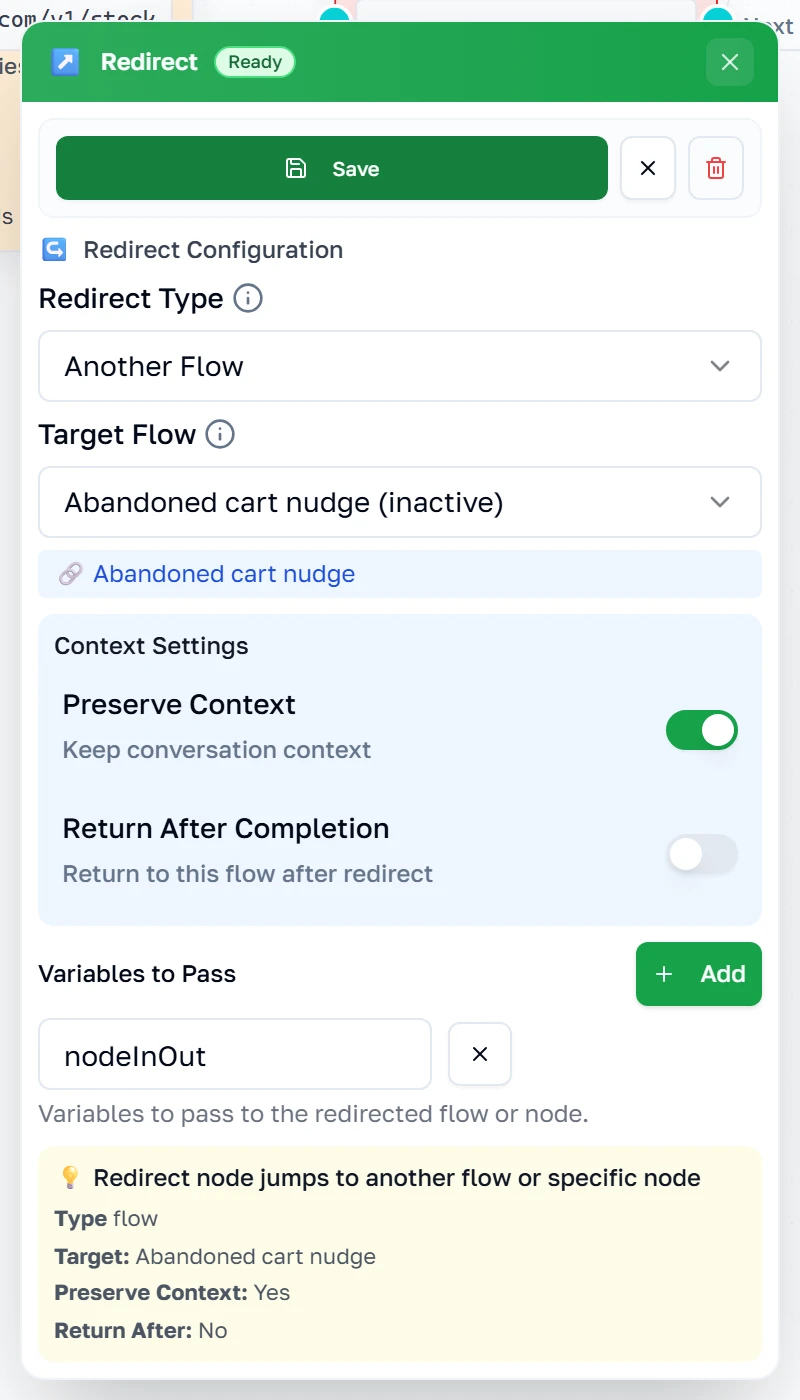
A Redirect box hands the conversation to another flow, to a specific box, or out to a link. It is how you reuse one flow from several others instead of drawing it twice.
Redirect — properties
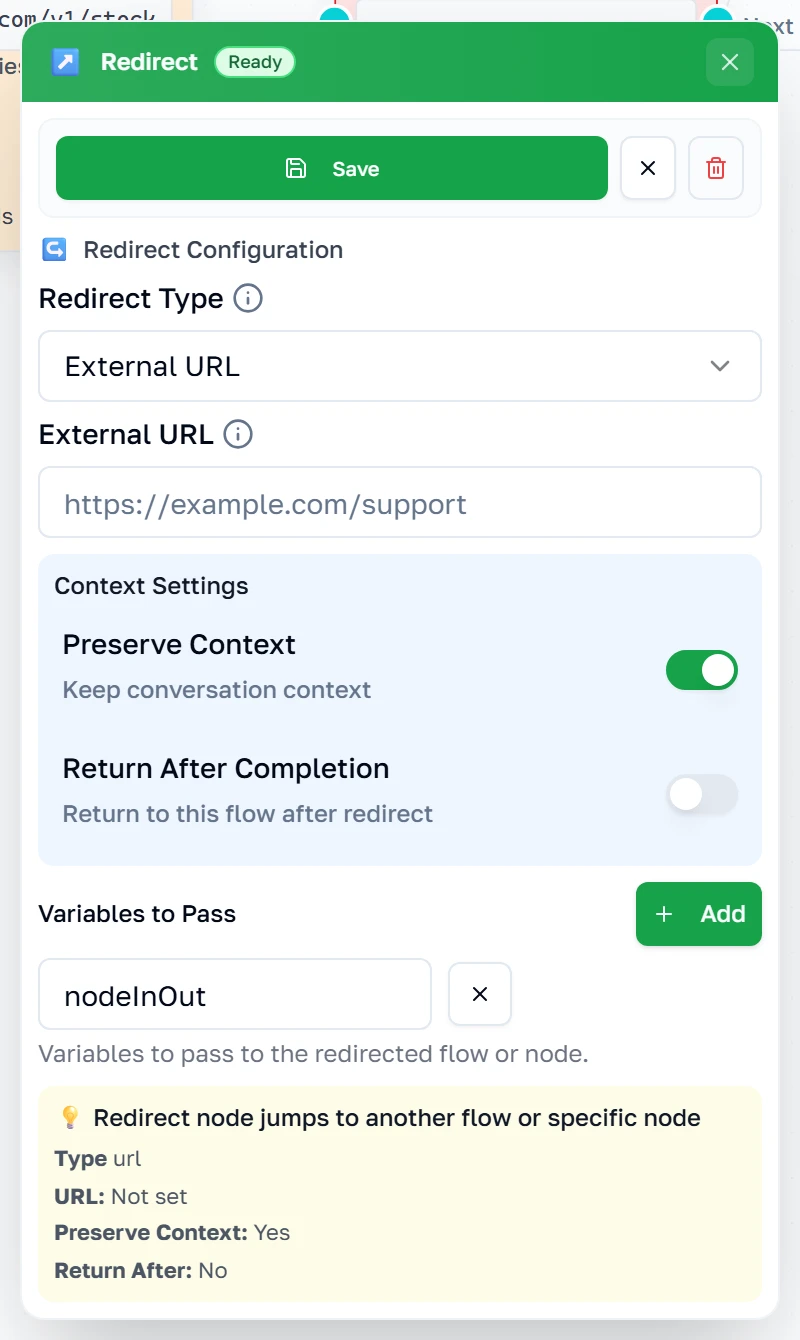
Pick where to send them: another flow, a box inside this one, or a web address. Preserve Context carries what you have already collected across; Return After brings them back here when the other flow finishes, which turns a redirect into a detour rather than a one-way door.
Redirect — sending them to a link
Switching the type to a URL swaps the flow picker for a web address. The summary at the bottom always restates what the box will actually do, which is worth reading before you save.
Going live
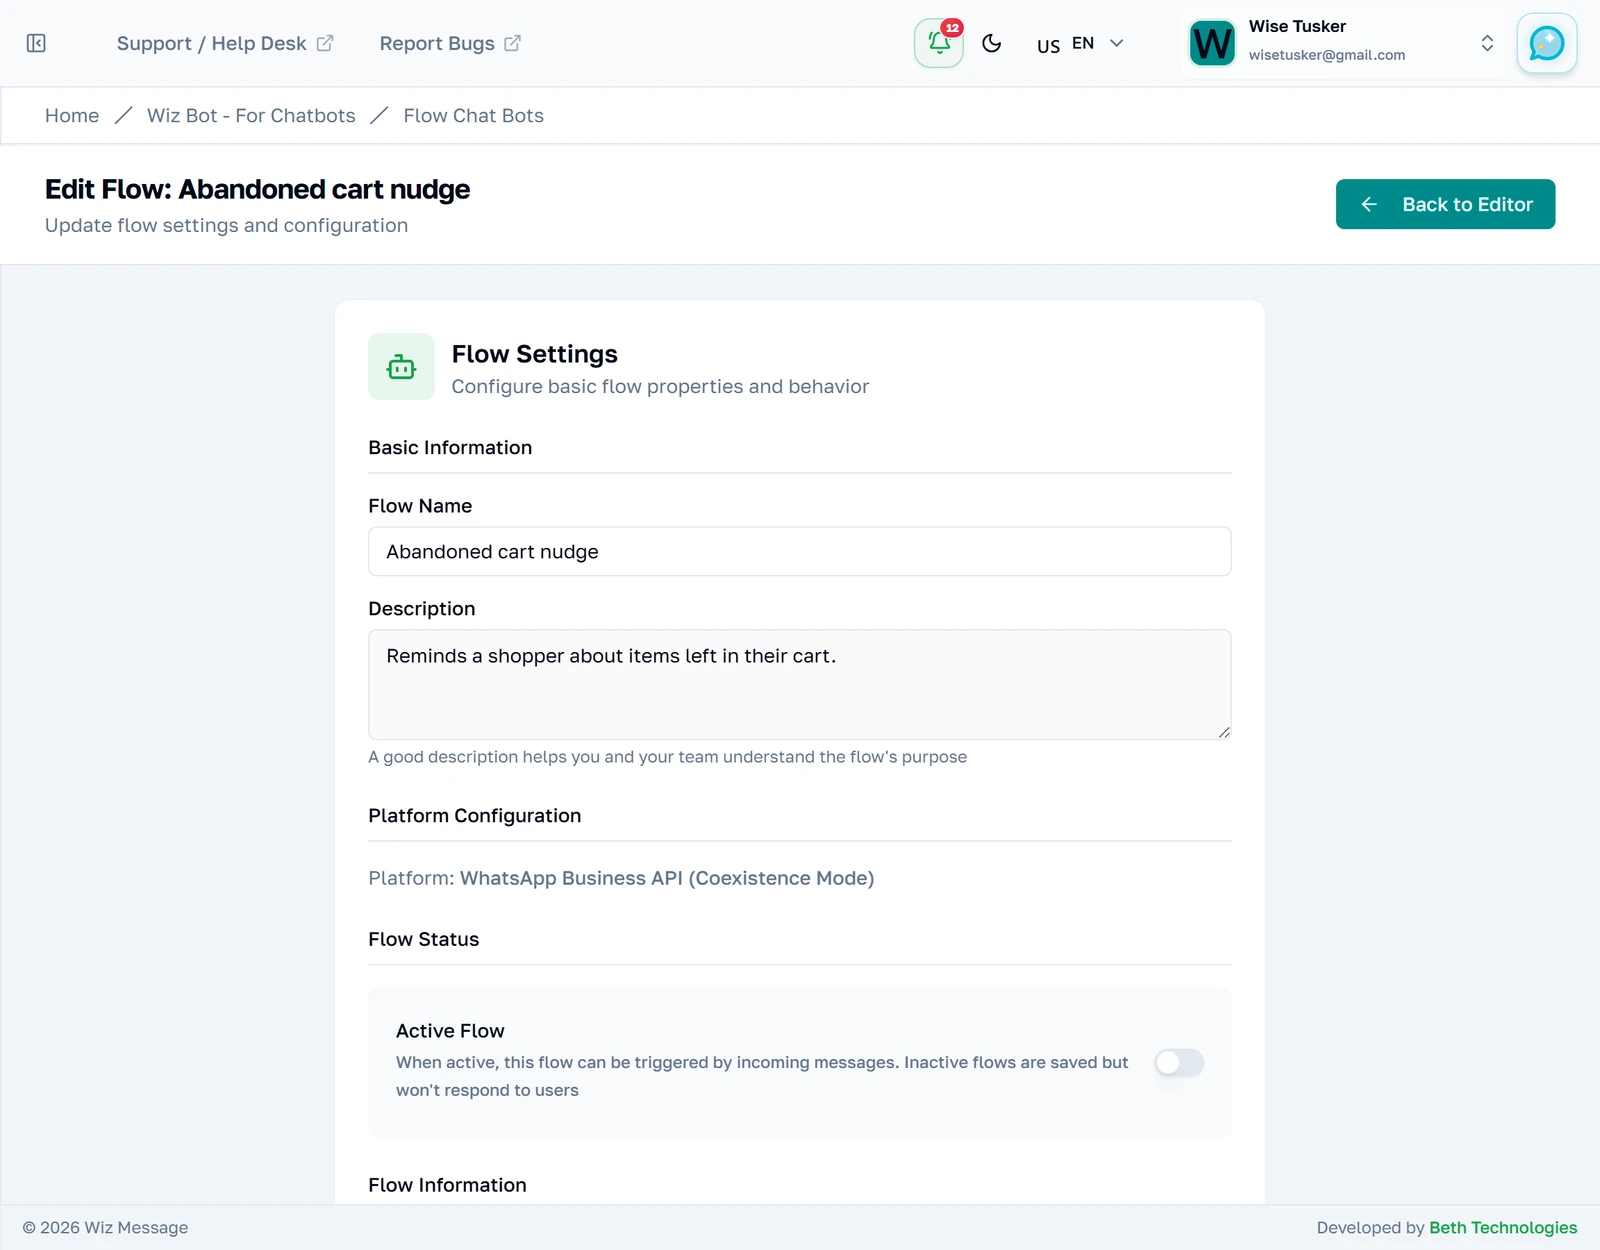
Renaming, and switching it on
Settings holds the flow's name, description and its Active switch. This is the switch that matters: until it is on, the flow is a drawing. Turn it on and the next matching message runs it.